PLEASE EXCUSE THE BLURRINESS OF THE PICTURES, my camera is not so good for close ups.
The block I'm showing is the 7" Geese in the Cabin block. You need 1 1/2" strips of fabrics, a scant 2" square for the center and 3 2 7/8" squares cut on the diagonal for the 'geese'.

This is the foundation paper for this block: The dotted blue lines are guidelines. The solid blue lines are the lines you line your fabric strip edges up to. You use your 1/4" foot to sew 1/4" to the left of the solid line.

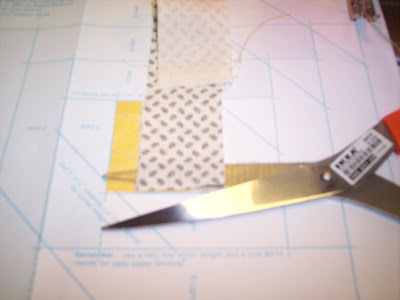
Start by putting the center square right side up, then add the first strip right side down on top of the center square. Sew 1/4" from the line. Trim the strip you just added to the right length. Trim the length by sliding your scissors into the fabric and slice it. Cut it so that it doesn't cover the line.

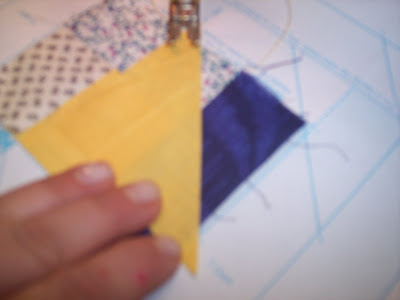
To add the triangles, fold the triangle in half so that you can center it correctly. Use the dotted blue lines to know where to place the triangle, then sew by placing your 1/4" foot next to the guidelines.

After you sew the triangle on, trim the logs that will end up under it when it is pressed open (tug to release the stitched fabric from the papers).

This is how the block looks before it is trimmed.

See the dotted lines at the corners? Those are your guidelines for trimming.

Place your ruler lined up with the dotted lines, cut along the edge of the ruler, but don't cut all the way to the edge of the paper...you need to still be able to see those dotted lines when you turn the block to trim the other side.

Once the block is trimmed, it is ready to be sewn into a quilt top. Leave the paper on until the top is sewn together. The edge triangles aren't quite right...thats not the fault of the pattern, that is the fault of the sewer

2 comments:
cool! thanks for showing this step by step
Thank you for showing I like to try this sometime!
Post a Comment